A seam has opened on a shirt you still wear, and you’d like to fix it without buying a sewing machine. Toronto Public Library’s Fabrication Studio is a place to try the repair yourself. Before packing the shirt, check whether the fabric is allowed and whether you can reach the damaged area with an ordinary sewing machine. Those two details can determine whether the repair is a good first project.
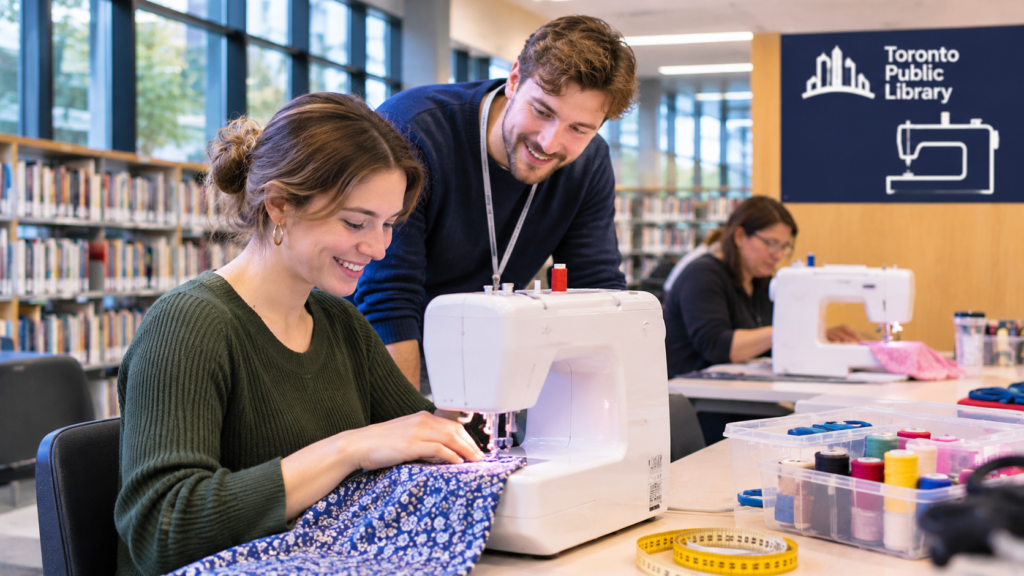
If you’re looking for Toronto library sewing machines, start with the Fabrication Studio on the second floor of North York Central Library at 5120 Yonge Street. Equipment access is free, but you need a Toronto Public Library card, and you’ll bring your own thread and other consumables.
Choose a Repair You Can Reach From the Inside
Turn the garment inside out and look at what failed. If the stitching has come apart but the fabric on both sides is intact, you may be able to sew along the original seam. A tear through the fabric itself needs a different approach, such as a patch. Sewing the torn edges directly together can pull the garment out of shape or make it tighter.
For a first visit, pick a repair you can lay flat and see clearly. A short opening along the side seam of a woven shirt is easier to assess than a rip inside a lined jacket. Check whether you can slide one layer away from the other where you’ll sew. If the opening is deep inside a narrow sleeve or next to a pocket, it may be easy to catch fabric you meant to leave free.
If you’re shortening a hem, try the garment on and mark the desired length before your booking. Fold it to that length and check how it looks when you sit and walk. Wait to trim any fabric until you’re sure where the new hem should fall.
Check the Fabric Before You Book
The studio does not allow denim, leather or glitter fabrics on its machines. It also requires you to use the needles it supplies. If your garment has a coating or several thick layers at the repair site, describe the material to staff and ask whether the machine and available needles are suitable.
Check the actual spot you’ll sew, since it can be different from the rest of the garment. A lightweight item can have a bulky waistband, a reinforced pocket or an elastic edge. Stretch matters too: a seam that looks fine when the garment lies flat may pull when you put it on. If you’re unsure how to handle that, bring a simpler woven item for your first session and ask about the stretch repair while you’re there.
Book the Machine You Need
The Fabrication Studio takes bookings by phone or in person and accepts drop-ins when equipment is free. You can book up to three business days ahead, with a two-hour daily limit per piece of equipment. The studio holds reservations for ten minutes and requires an equipment use form before you start.
Ask for the regular sewing machine if your plan is to close a straightforward seam or stitch a simple hem. The studio also has a serger, which can finish raw edges, but it requires an introductory class before you can book it. If you’ve never threaded a machine or wound a bobbin, check whether a Sewing Basics class is available before booking independent time. A reservation gives you equipment access; ask separately what help is available during your session.
Pack for the Repair and a Test Run
Bring the garment, suitable thread and a scrap close to the garment’s weight and stretch. Include any patch fabric you plan to use. If you’ll need scissors, a seam ripper, clips, pins or a marking tool, ask which items are available at the studio and pack what you’ll need to supply.
Test your thread colour in daylight if the stitching will show. Hold a single strand against the fabric: the colour may look different spread across a spool. For a hidden seam, put more attention into how the stitch looks and holds on a scrap than into finding an exact colour match.
Use the scrap to practise sewing through the same number of layers you’ll have on the garment. A single layer doesn’t tell you much about how a double-fold hem will feed. If the sample puckers, skips stitches or pulls out of shape, pause and ask staff what to check before you sew the garment.
Leave Time to Inspect the Repair
Give yourself a few minutes at the end to look at both sides of the stitching. Check whether you accidentally caught a pocket or lining. If you repaired a seam, turn the garment right side out and look for gaps where the new stitches meet the old ones. For a hem, compare the two sides before cutting any excess.
If the repair needs more work, write down the next step while it’s fresh. You might need a better-matched thread, a different technique or a little more time to prepare the fabric. One garment is enough for a first visit: a repair you understand is more useful than a bag of projects you rushed through.
For clothes that still fit and that you want to keep, a small repair can get them back into rotation. If you have pieces in good condition that you no longer wear, our guide to Toronto clothing swaps explains how to check what an event accepts before bringing them along.
Note: Booking rules, equipment and class schedules can change. Check the Toronto Public Library Fabrication Studio guide before visiting for current hours, fabric restrictions and booking instructions.